Roughly every month I write an email that I send to my PaTMa mailing list with updates, news and property stats - pretty much whatever I've been thinking about or working on recently. Having been writing these emails for years, it finally occurred to me that I should start posting them here as well!
I was recently given an existing set of files to create a collection of Docker containers via the docker-compose tool. Unfortunately this rapidly led to some annoyances with variable substitutions within a docker-compose (.env) env-file. This is the kind of thing I mean:
DOMAIN=example.org
EMAIL=admin@${DOMAIN}
The problem was that they don't seem to be supported in docker-compose 1.25.5 (as shipped …
It seems to be the thing to do these days, starting a podcast, so I thought I'd join in.
I've been a fan of property since I was very young. While my career has primarily followed other things, I've been a property investor (fancy term for a landlord) for nearly twenty years.
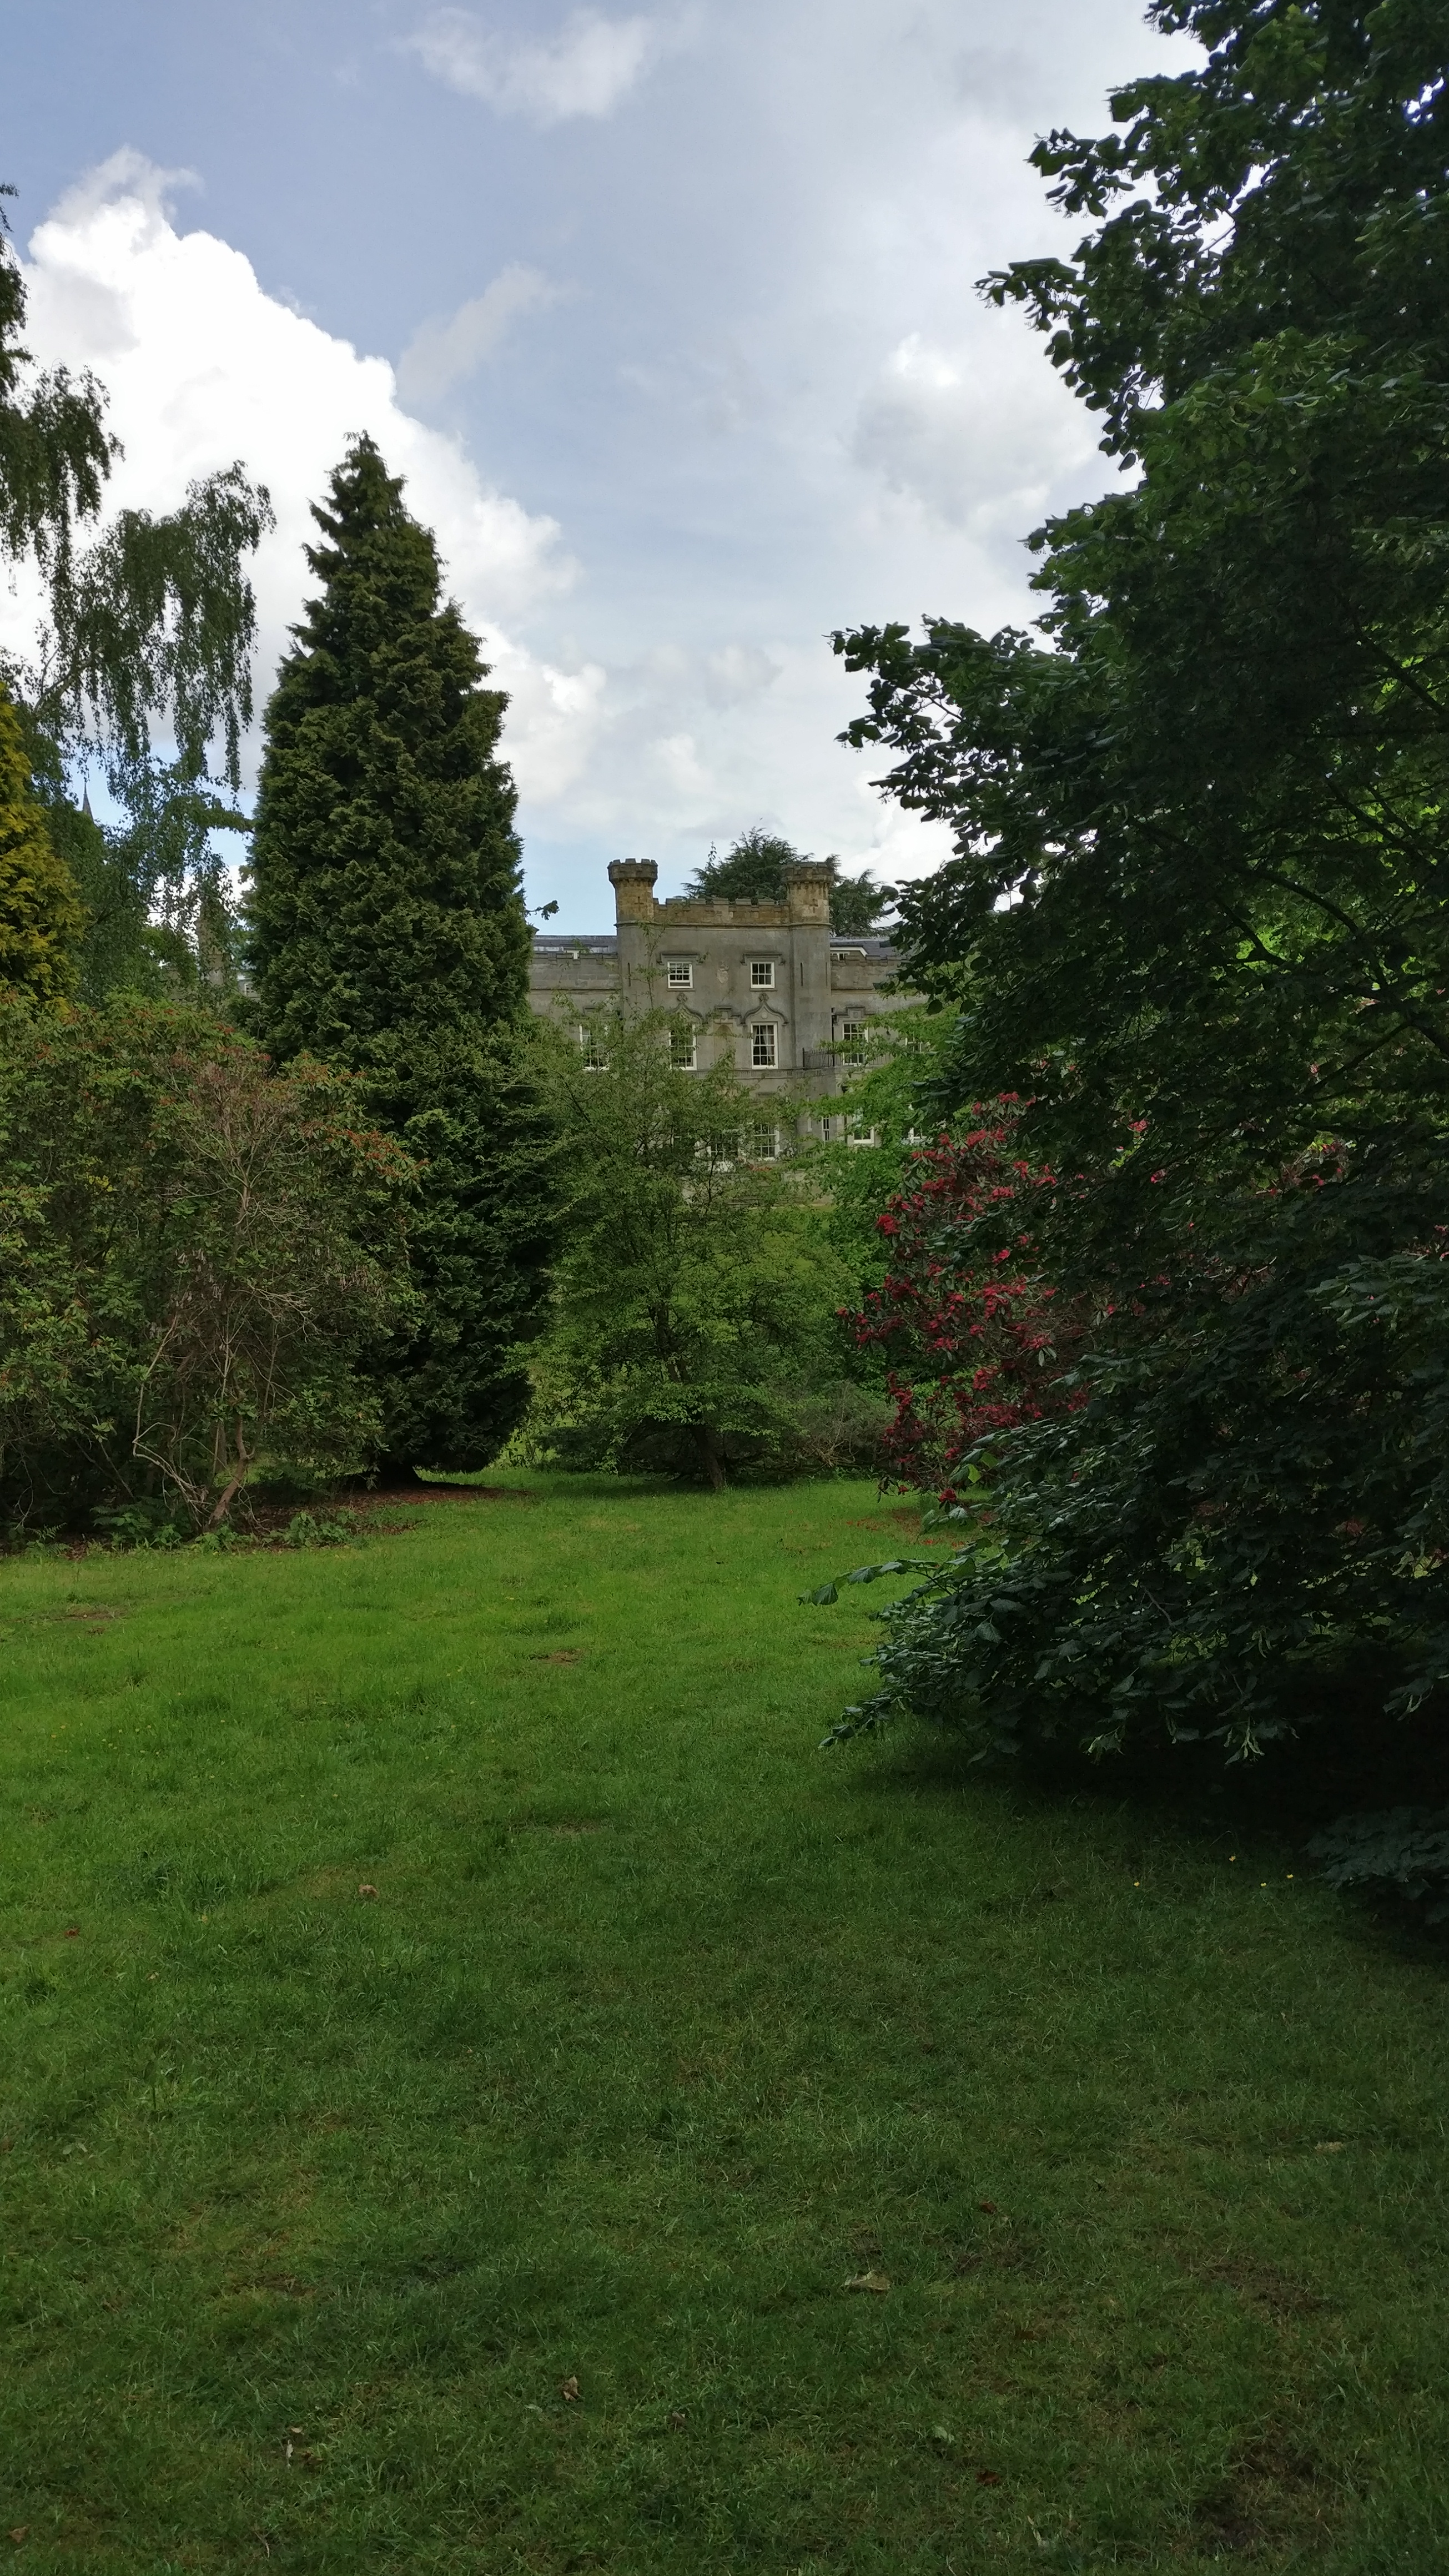
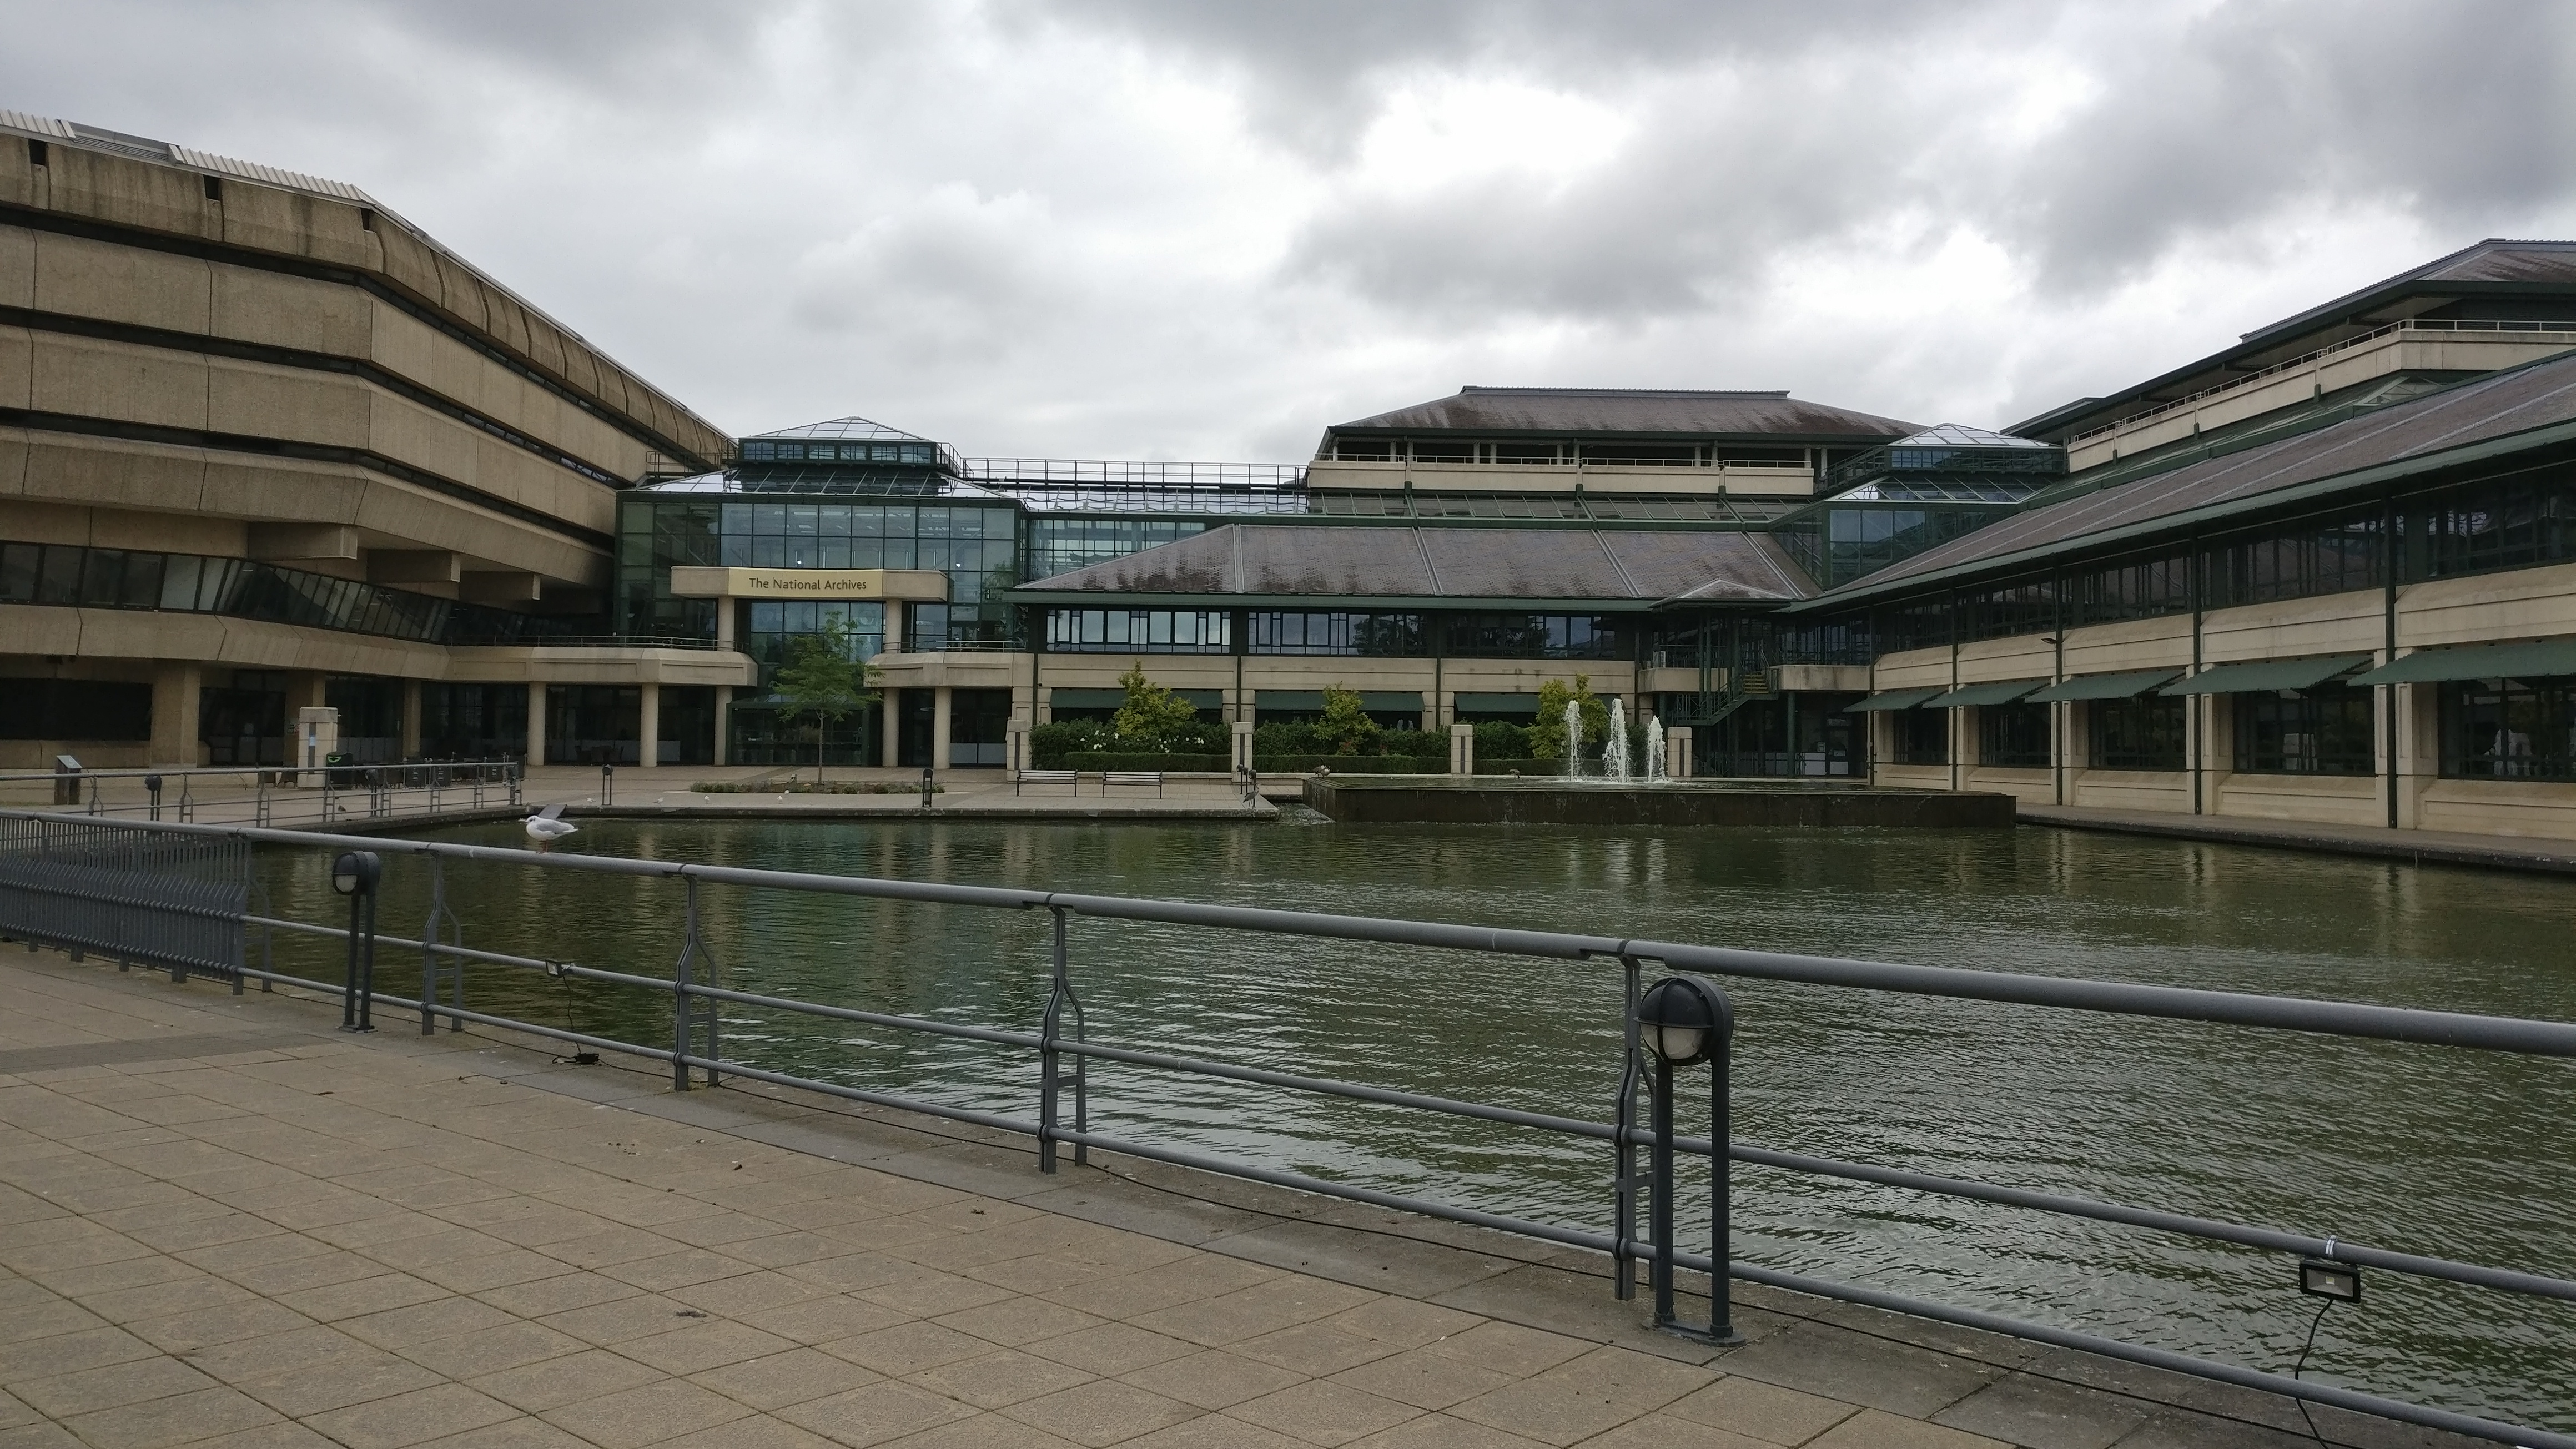
Simply The National Archives today, looking a bit grey. Taken as we visited for an excellent Time Travel Club, family day, complete with a show and sessions exploring 800+ year old documents.